Author
Phylis Biruri
Houses for Sale
3-Bedroom Bungalow for Sale in Ongata Rongai
KES 9M

Modern 1 & 2-Bedroom Apartments in Ongata Rongai
KES 1-bedroom @ KSh 4.9M and 2-bedroom @ KSh 6.1M
Share this post
Table of Contents
Steps to Building a House
When weighing between buying a family home or building from scratch, building your home will always win. Building your own home offers the unique opportunity to create a space tailored to your exact preferences. However, while it can be a rewarding experience, it’s important to approach the process with careful planning and budgeting.
Hence, understanding the process step by step beforehand helps you know what to expect in each stage. Whether you have a professional helping you with the whole process or you will be the one doing it on your own, it’s always a good idea to keep the process and know what is happening.
This comprehensive guide will guide you through14-step process to help you navigate the complexities of building a house and achieve your dream home within your budget.
Essential Steps to Building a Strong and Lasting Home
Building a house is a big journey that must be handled step by step. Every stage matters, and skipping even one can cause costly mistakes later. Following through carefully ensures your dream home stands strong and lasts long.
Also read: How to Choose the Best Construction Company in Kenya
1. Prepare the Construction Site
Before you start your construction project, its important to do a thorough site preparation. This involves clearing the land if it has vegetation, debris, and any obstacles that may hinder construction progress. While smaller sites can be cleared using manual tools like hoes and pangas, larger sites may require heavy machinery such as excavators to remove unwanted materials and efficiently prepare the ground for building.
2. Lay Foundation and Setup
A strong foundation should be your main focus as you build any type of house. It’s the hidden support system that ensures the house structure remains stable for a long time. The process begins with a careful examination of the soil. Testing is a crucial step as it helps you assess its load-bearing capacity, providing you with valuable insight that will help determine the design of the foundation.
Depending on the test results, you may need to remove or add some soil to achieve optimal compaction. You can use tools such as plate compactors or rollers. This helps ensure that the soil is evenly compressed, creating a firm and level base upon which the foundation can be securely anchored. Such a thorough preparation will guarantee that the house will stand strong for years.
Experts recommend coarse-grained black soil as the best choice for backfilling foundations due to its excellent drainage properties, which allow water to flow freely. This soil provides strong load-bearing capacity, which ensures the foundation is strong and stable. Its good drainage also protects buildings in areas prone to flash floods during the rainy season, preventing cracks and structural damage over time. If the place you intend to build has poor bearing capacity, it will be a threat to your building. Here are some of the side effects of the poor backfilling.
3. Backfilling
Backfilling your foundation with poor soil capacity is a silent threat to building stability. Using low-quality murram for backfilling can cause serious issues due to its poor drainage and weak load-bearing capacity. In addition, any trapped water in the foundation will prevent proper flow. As a result, it will lead to gradual sinking over time. As the building absorbs water, cracks begin forming from the ground floor and spread upward. This problem becomes worse during the rainy season. That’s why we stress the risks of using poor murram in backfilling.
As we have mentioned, even though traditional backfilling with soil is a common practice, it can lead to various problems. However, you can solve such issues by building a beam. This is one way that offers a more reliable and sustainable solution.
Building Beams vs. Backfilling
Building a beam instead of backfilling soil is a practical solution that works well in specific conditions, such as:
- Expansive Soil: Expansive soils, like clay, can swell when wet and shrink when dry, causing significant movement. Using a beam avoids direct contact between the foundation and such soil, minimizing the risk of cracking or shifting.
- Elevated Foundations: Beams can replace soil backfill when raising a foundation to prevent flooding or align with uneven ground levels. This reduces the load on the soil and provides a stable base.
- Structure Stability: Beams offer a more controlled and reliable method for distributing the weight of the building evenly. They reduce the need to rely on soil compaction, as it can vary.
- Reduced Settlement: By eliminating the need for backfill, you can minimize the risk of uneven grounds, which causes cracks and structural damage in most cases.
- Reduced Settlement: Soil backfill can settle over time, leading to uneven floors or causing some issues with the building. A beam eliminates this risk by providing a stable support system.
- Flood-Prone Areas: Beams keep the structure elevated and help prevent water damage during heavy rains or floods, unlike backfilled soil, which might retain water.
- Improved Drainage: Beams can be designed with a proper drainage system. This helps prevent water from building up around the foundation, reducing the risk of damage.
In my opinion, while beams are often more costly, they provide long-term durability and stability for structures in challenging conditions.
Nevertheless, while beams offer numerous advantages, it’s crucial to consult with your structural engineer to determine the most suitable design and construction methods for your specific project. Remember, they must consider factors such as soil conditions, building loads, and local building regulations.
Once they carefully evaluate your project’s requirements and explore alternative construction techniques, they will be sure to build a stable house that will last long. You can ensure the longevity and stability of your building.
4. Strengthen the Foundation
If you want to build a strong and durable foundation for your house, the best first step is to install a plinth beam and slab. This is a reinforcement layer that is placed on top of the foundation, serving a multiple purpose. It acts as a barrier, shielding the foundation from moisture and preventing cracks from propagating into the walls. Additionally, the plinth beam and slab significantly enhance the foundation’s seismic resistance, ensuring it offers the building enough stability even in the event of an intense earthquake.
5. Apply The Right Pesticides To Prevent Insects And Termites
The most used pesticides used when building in Kenya are gladiator, gradiometer, and undertaker. They are used to prevent insects, especially termites, from establishing homes in buildings. These techniques typically involve creating barriers or treatments around the foundation and structure that repel or eliminate pests. For example, chemical treatments can be applied to the soil and foundation, while moisture detection tools help identify areas that may attract termites.
These products often work by creating a barrier that repels or kills insects like termites. When applied to the foundation and around the perimeter of a building, these treatments prevent termites from entering and establishing nests.
6. Constructing the Superstructure
The superstructure plays a vital role in supporting the beam and slab of a building. Key components, such as columns, are designed to reinforce the foundation’s weight, ensuring the structure’s stability and strength. These columns extend upward, supporting the beams and slabs while distributing the weight evenly. In addition, the system helps maintain the stability of the building, allowing it to withstand both the weight of the materials and external forces like wind or seismic activity. Once you construct the superstructure properly, you can be sure that the building will withstand harsh weather conditions and remain stable for so long.
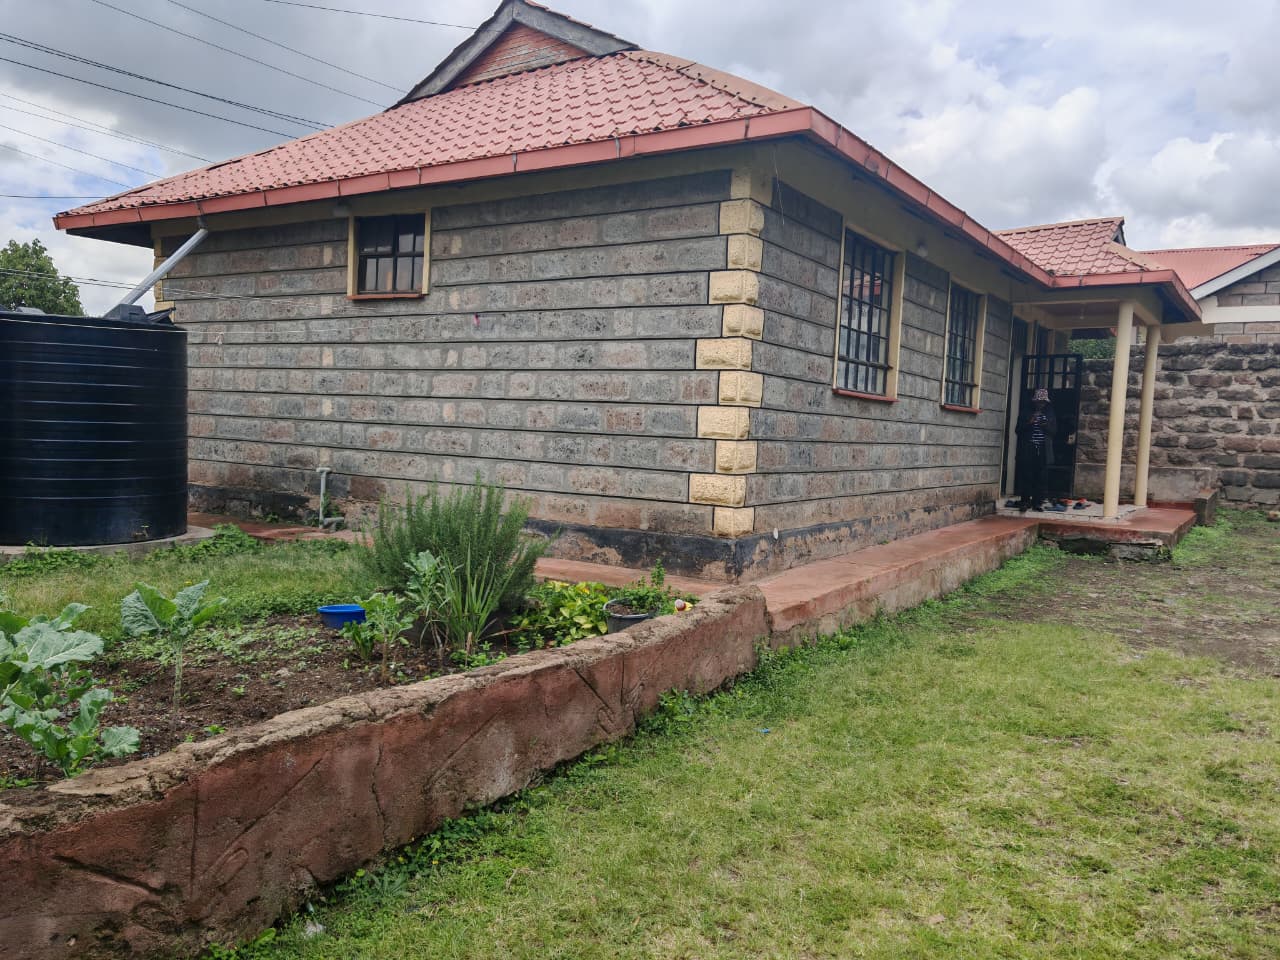
7. Building the Walls
Walls are the most visible part of a building and play a crucial role in its overall structure. Depending on your preferences or even your pocket, you can build the walls using various materials, such as stones, concrete blocks, or fly ash bricks. When building the wall, the masons will carefully carve out openings for doors and windows. This will help ensure that the walls properly align with the design of the building.
8. The Lintel for Support and Stability
Once the walls are erected, the next step is to build a lintel on top of them. The lintel is a beam placed across the openings for doors and windows, providing essential support for the structure’s weight above. It helps distribute the load evenly, typically from the roofing system, ensuring the walls remain stable and secure. Without a properly installed lintel, the weight of the upper structure could cause damage to the openings, leading to cracks or even causing the wall to fall.
9. Roofing
Roofing serves as the first line of defence against weather conditions such as rain, wind, heat, and cold, ensuring the interior remains dry and comfortable. Your choice of roofing materials may vary depending on your favourite design, budget, and even the climate. Some of the commonly used roof materials include metal sheets, tiles, thatch, or asphalt shingles. You can use materials such as beams, rafters, and trusses to support the roof. They are carefully designed to bear the weight of the roofing material and withstand external forces like wind and snow. To ensure the roof remains in proper condition and prevent issues such as leaks, water damage, or structural weaknesses, ensure you install it properly. Also, it should as well be well maintained.
10. Wiring and plumbing
At this stage of construction, electrical wiring and plumbing pipes should be installed within the walls and slabs to keep them out of sight.
This hidden installation not only maintains the aesthetic appeal of the space but also ensures safety by protecting the wires and pipes from external damage. Only the sockets and endpoints of the pipes should remain visible, providing access for connection and maintenance while keeping the rest of the system neatly hidden.
11. Interior and exterior finishes
Once the wiring and plumbing are completed, the plastering work should begin immediately. I will help to protect the house from weather effects and to enhance its appearance. For exterior finishes, a mixture of cement and sand is applied to the walls, typically with a thickness ranging from 13mm to 20mm. This will give the wall strong durability and protection from external elements. The interior finishes, on the other hand, are carried out according to the design specifications set by your interior designer. This stage transforms the building, making it more useful and attractive, getting it ready for final details.
12. Flooring
In the flooring stage, you can choose to install materials like tiles, marble, wood, or other options based on your preferences. This stage typically follows after completing both the interior and exterior finishes. Hence, It transforms your space, making it visually appealing.
13. Painting
Painting is the final touch that brings colour, personality, and vibrancy to a home. After the flooring and finishes are complete, the next step will be to paint the interior and exterior surfaces to enhance the overall aesthetic. Remember, your choice of colours, textures, and finishes plays a significant role in defining the mood and style of each room. Interior walls are typically painted with finishes that suit the room’s function, while exterior surfaces are coated with weather-resistant paints to protect the building from the elements. Proper painting not only adds visual appeal but also helps preserve the integrity of the building by protecting surfaces from wear and tear.
Post-construction phase
14. Connect the Essential Utilities
At this stage, it’s time to arrange for utility connections, which is really important as it will ensure that your home functions well. Reach out to the appropriate service providers to apply for electricity, water, and sewerage connections. To avoid delays, ensure you complete the required documentation and schedule any inspections or installations early. Once you apply on time, the providers will ensure your utilities are ready when your home is complete.
15. Acquire Occupation certificate
Once you complete building a house, don’t be in a hurry to get in. It’s a rule by the city council to ensure they inspect the house to approve and issue an occupancy certificate. Once the certificate is granted, you can officially move into your new home. However, for a residential home, having this occupancy certificate is not always a must.
At this stage, you must also apply for utility connections from the respective service providers, including electricity, water, and sewerage.